I was inspired to create a LUT that helps match my Sony footage with my Canon footage. This LUT will be great for you shooters in both systems, or you Sony shooters that are tired of the Sony colors. This LUT adjusts your log footage to mesh up with clog2, so you’ll need to add your favorite Canon LUT on top of this.
All photos in the examples have my TK CLOG2 / REC709 LUT applied
conversion LUT for CLOG2 that is natural and beautiful. With this conversion LUT, I went for a natural clean base where you have the latitude to add / take away contrast, sat, etc. Some conversion LUTs are pretty stylized and contrasty, and I found this approach to be my favorite.
Created in Davinci Resolve, designed for Sony SLOG3
MY RECOMMENDED SETTINGS: SLOG3 - sgammut3.cine
Comes with V1
**YOU’LL NEED A CLOG2 / REC709 LUT**
Examples shot with Sony FX3, 10bit422, mixture of fixed and variable ND’s
FOR BEST RESULTS
Expose Properly
Use good ND’s (I prefer fixed over vnd)
You’ll need to fine-tune exposure / contrast to your liking
For Premiere users, use the creative tab in Lumetri, to adjust the strength needed as to preference. I use 100% for every LUT I make.
NOTES:
It’s important to expose properly, LUTs are not the end all be all form of color grading, they are a base to build off of. Luts should be used as a tool not a crutch!
Every single image is slightly different in framing, color, and lighting. These luts like any luts will require slight adjustments.
This REC709 LUT is my favorite way to get my CLOG2 footage in the right color space to then grade on top of.
When I update / tweak this LUT you will receive a free update!
LUTs / Powergrades / Presets are non-refundable*
Any person found trying to re-sell these products will be prosecuted*
send me your videos that use this lut! Tag me on ig @thomaskovacik

 Image 1 of 40
 Image 2 of 40
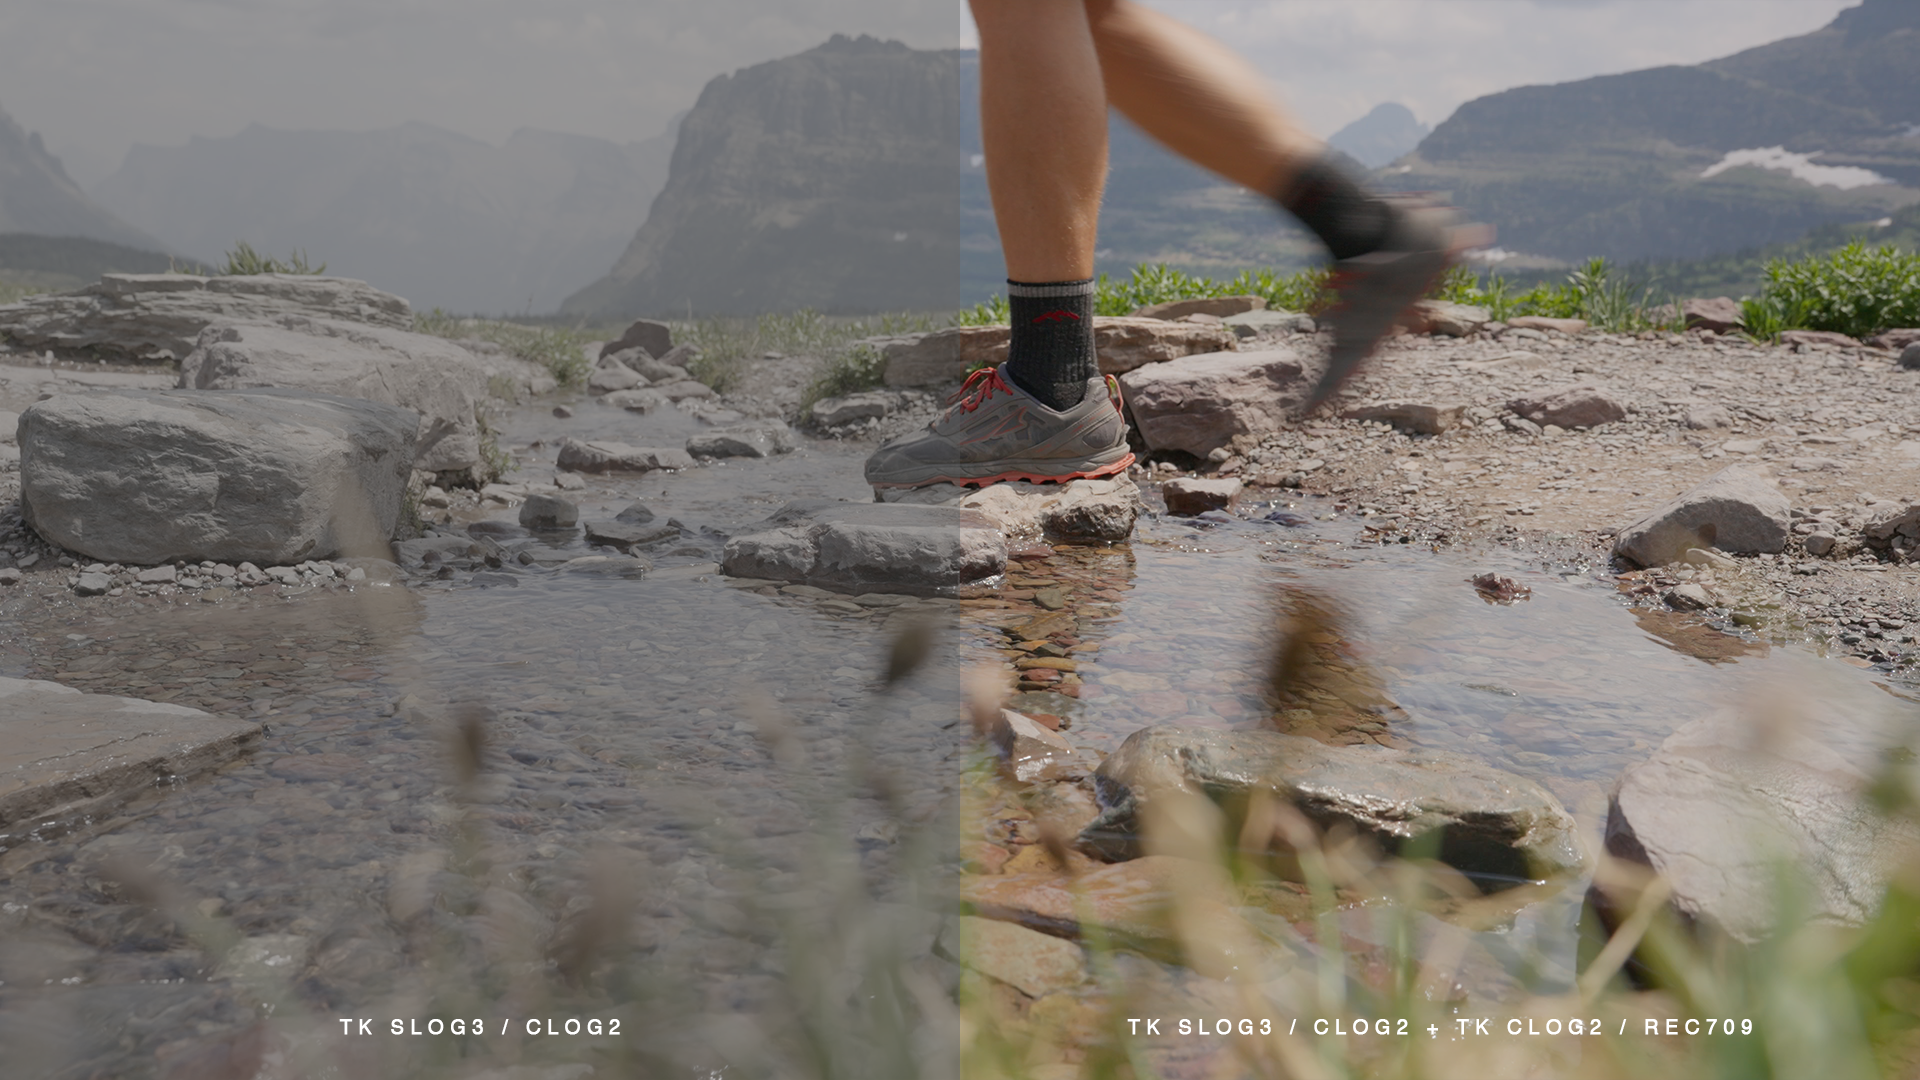 Image 3 of 40
 Image 4 of 40
 Image 5 of 40
 Image 6 of 40
 Image 7 of 40
 Image 8 of 40
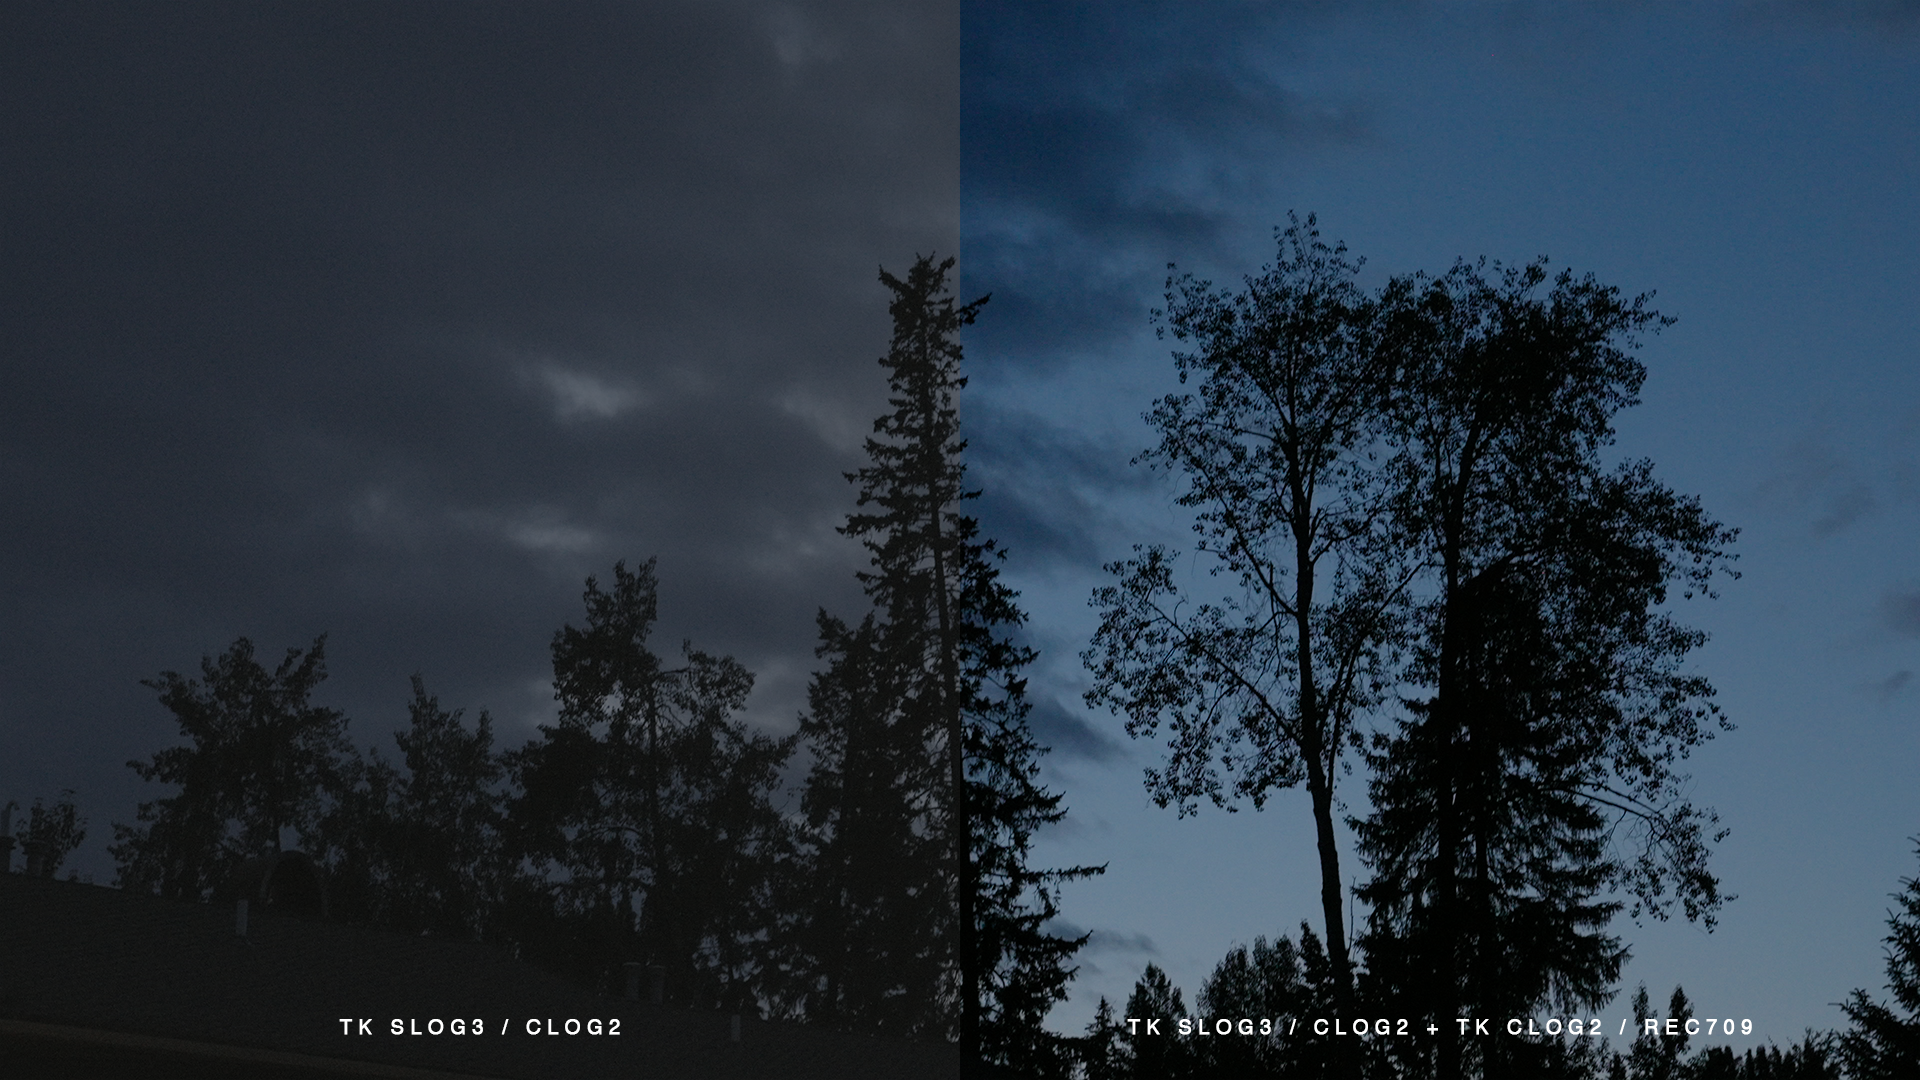 Image 9 of 40
 Image 10 of 40
 Image 11 of 40
 Image 12 of 40
 Image 13 of 40
 Image 14 of 40
 Image 15 of 40
 Image 16 of 40
 Image 17 of 40
 Image 18 of 40
 Image 19 of 40
 Image 20 of 40
 Image 21 of 40
 Image 22 of 40
 Image 23 of 40
 Image 24 of 40
 Image 25 of 40
 Image 26 of 40
 Image 27 of 40
 Image 28 of 40
 Image 29 of 40
 Image 30 of 40
 Image 31 of 40
 Image 32 of 40
 Image 33 of 40
 Image 34 of 40
 Image 35 of 40
 Image 36 of 40
 Image 37 of 40
 Image 38 of 40
 Image 39 of 40
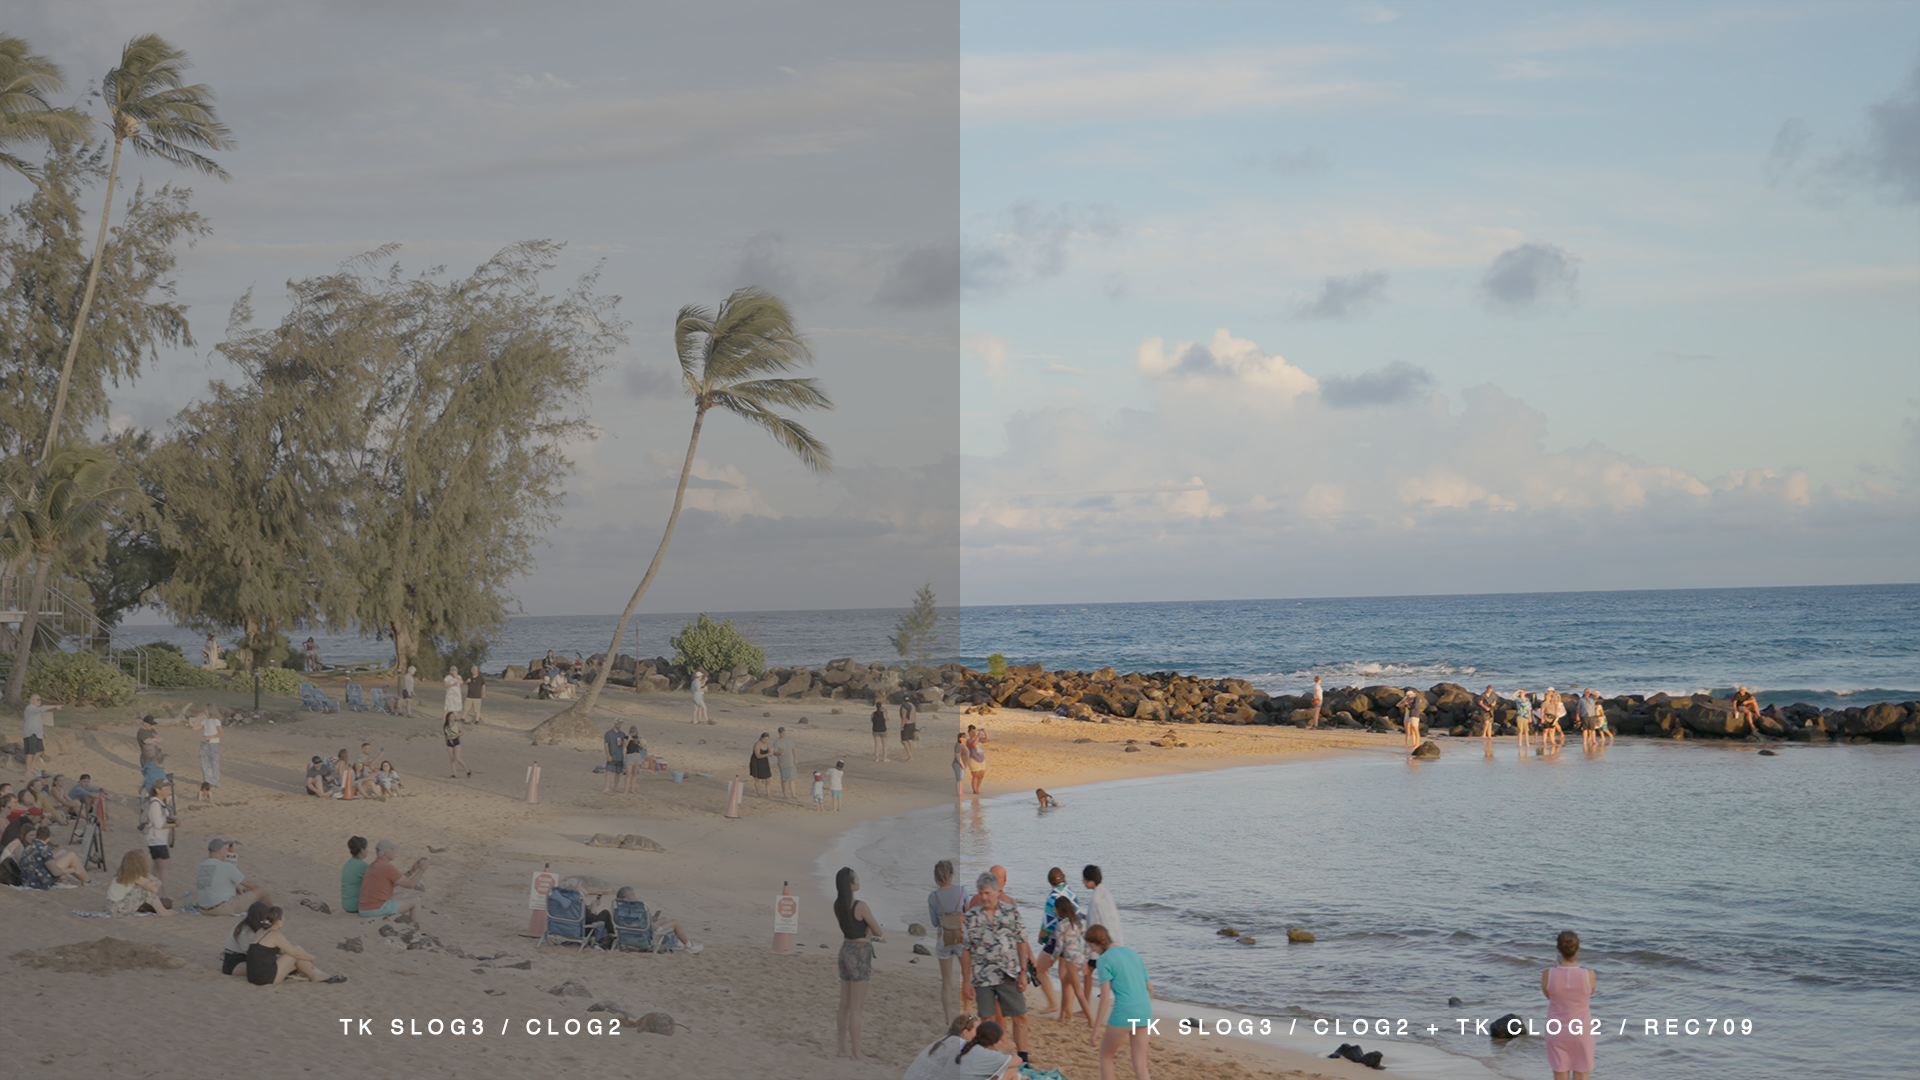 Image 40 of 40
